This is an article written by a wonderful woman named Sofya's and her adventure skinning and cleaning a deer. I came across this article on her blog called, "A Girls' Guide to Guns and Butter," and had to share it with you as it goes wonderful with my article on Butchering chickens :) Thus a new Category was born. :) Hope you learn and enjoy cleaning your first deer!!
Our excellent deer-hunting adventures
have culminated in an epic seven-deer butchering session, with at least
ten people helping. My in-laws have a tradition of inviting friends
over and doing it as a group, which takes place in their nice, insulated
garage/shop.
Here are the deer shot during the season,
awaiting their skillet-bound fate. Most of them were shot during the
previous weekend and have spent a week hanging outside (we usually let
our deer hang, weather permitting, for several days to a week in order
to age them and thus tenderize the meat). These here have actually
frozen somewhat in the process, but they mostly thawed by the time we
butchered them after we moved them into the shop the night before.
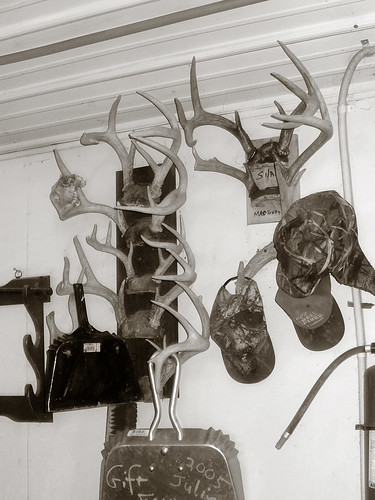
You can see that the shop has been decorated with the glory of deer seasons past.
At this time, let me just say that
butchering the whitetail is not hard because this particular species of
deer is not very big. It’s nice to have help, but one can also do it
alone if need be.
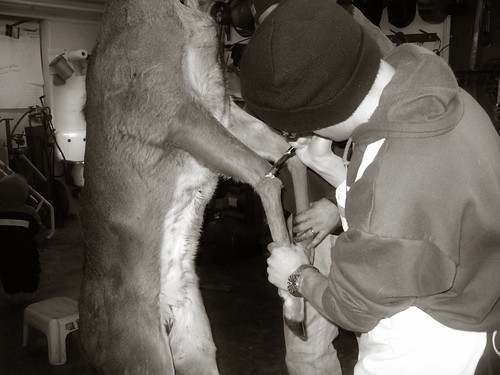
We begin by removing the feet. To do so,
hold a foot in your hand, bend it downwards a little, and cut through
the hide and the cartilage at the joint where the foot connects with the
rest of the leg. If you hit the bone, look for a different angle to cut
– you don’t need (or want) to be cutting through any bones.
An important note: There have been cases of the CWD, or Chronic Wasting Disease,
in our area. Now CWD is a neurological disease that affects deer. There
have not been incidents of people becoming infected, but hypothetically
there could be. This is why, if you are in the South-Western Wisconsin
or any other CWD-confirmed area, you shouldn’t eat any animals that
appear sick, and avoid sawing through any bones to keep the marrow
contained. Also, avoid using deer bones, brain, glands, spleen, or, like
I said, marrow in your food. Because of this potential threat, we
debone our deer completely.
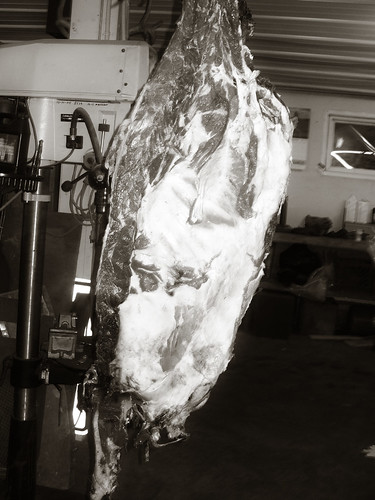
With the feet removed, you now want to skin
your animal, which you start at the neck. That icky-looking area is
where the bullet went through, and all that stuff will need to be
trimmed off.
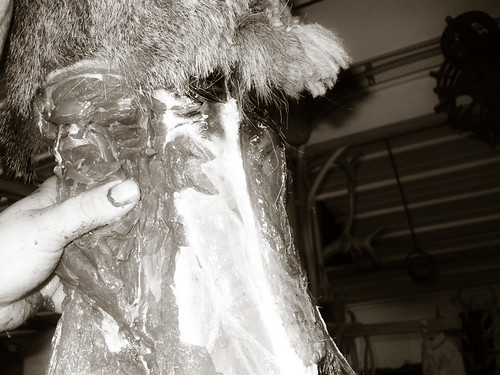
Basically, skinning involves cutting
through the hide all the way around the neck and then cutting through
the film-like connective tissue between the skin and the muscle to
release the hide.
Until you get kind of halfway-down.
An important word of caution: It is not uncommon for two people to be working on the same carcass at the same time. Please be careful not to cut the other person you are working with – watch out for their hands, fingers, faces, and so forth. If you are an observer, conscientious or otherwise, don’t stand too close. Personally, I have never seen there be an accident, but it doesn’t mean that it can’t happen.
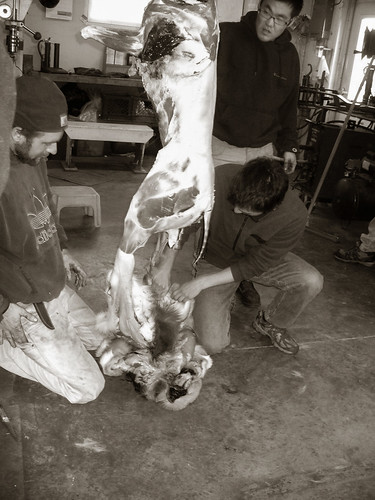
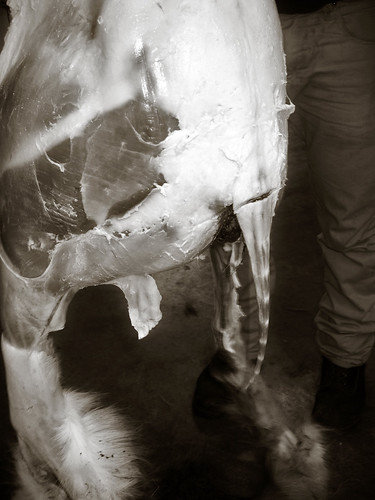
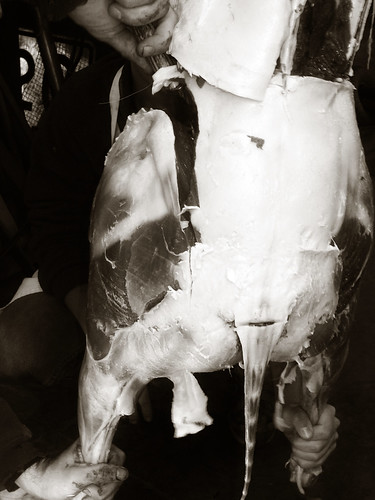
When you get halfway down the carcass, you
may want to start pulling. The help of another person is usually really
useful at this point.
Like that.
Here’s that elusive white tail.
The more backwoodsy types often ask me if
we do anything with the hide, such as tanning. We don’t – we just take
it down to a guy in a town at the bottom of the hill to be traded for a
hunting knife or a pair of (cheap) gloves. It is not worth more than
five or six bucks. But I’ve heard of (very few) people tanning the hide
themselves. If you are interested in that sort of thing, consider this Driftless Folk School Class. That one is over now, but there might be another one in the future.
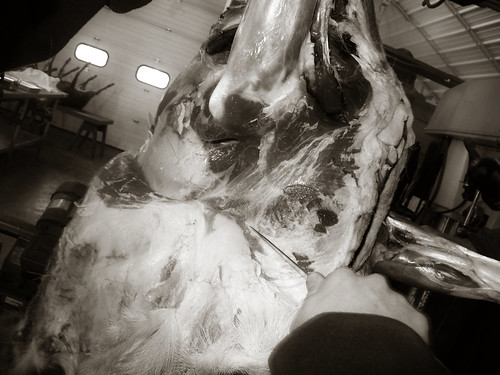
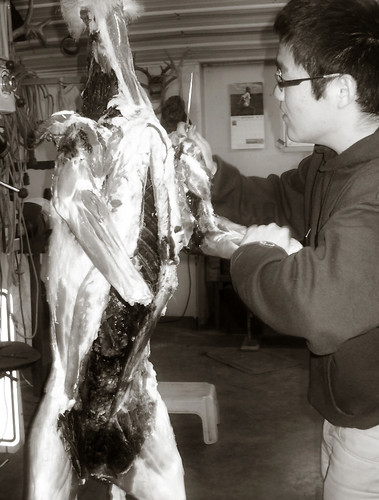
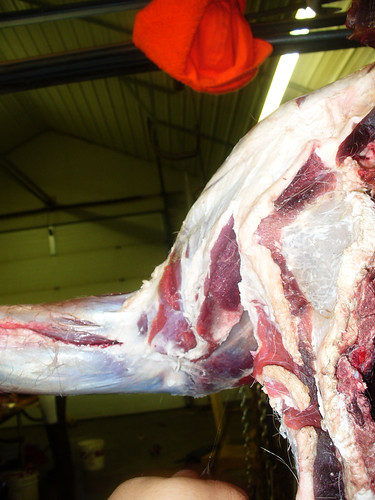
With the deer thus skinned, it’s time to
start breaking it down into quarters (= cut off the limbs). We usually
start with the front quarter (= leg). Once again, you gonna wanna be
cutting through a joint between the torso and the shoulder, avoiding any
bones. It can be done! Just keep looking for the right spot. You can
also do this with a lying-down carcass but it’s easier when it’s
hanging.
See? The so-called “front quarter” (one of the front legs) is starting to come off.
Next, let’s remove the back legs, or “hind quarters.”
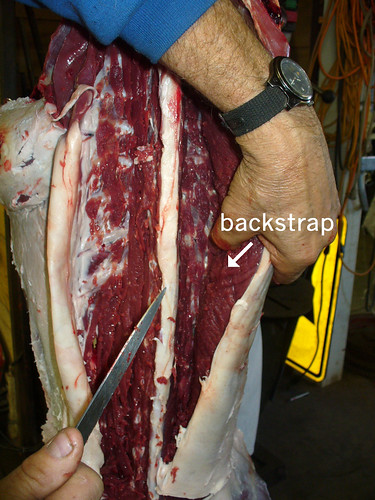
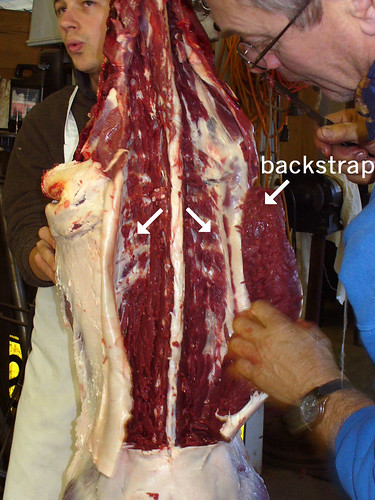
Next, we are going to remove the
“backstraps,” or loins – two tender muscles on each side of the spine
running the entire length of the back. This is a highly-prized cut, and,
next to the inner loin nestled up against the back inside the body
cavity, it is the most tender part of the deer. Sometimes people call
these backstraps “tenderloins,” but I believe it’s actually roughly an
equivalent of a cow’s sirloin.
Love my brother’s-in-law facial expression.
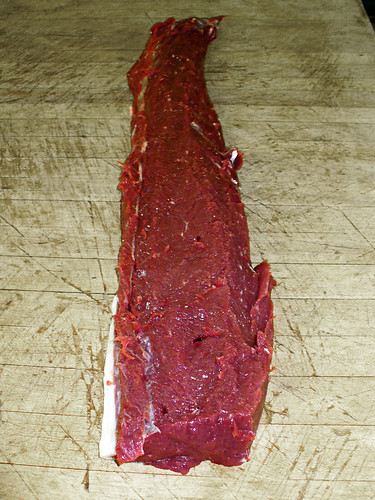
Here it is.
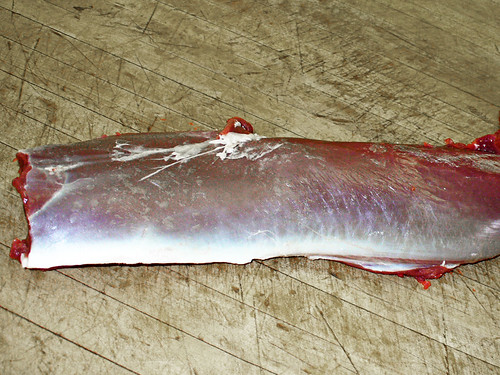
One of the sides will be covered with a thick layer of connective tissue, which needs to be trimmed off.
I like to cut it into about four sections
and freeze each section individually to be grilled whole later. In the
past, we’d cut this piece into butterfly steaks, but later decided that
the less cutting we do during butchering, the less of the meat is
exposed to air, and, hence, susceptible to the potential freezer burn.
Besides, I prefer whole chunks to individual steaks anyway. It’s more
primal.
Now depending on your available amount of
time, patience, ambition, and on how many deer you still have to
process, you can remove or not remove the rest of the meat from the
carcass. First-time butchers with only a single deer to process might
want to trim off every bit of flesh for hamburger, but the thing about
us is that we usually don’t.
Instead, we just tie the remaining carcass,
above, to a tree to serve as a bird feeder for the winter. By spring,
protein-eating winter birds, such as woodpeckers, chickadees, starlings,
and nuthatches, will pick it clean because they are after the
high-energy fat/suet. Just be sure to tie it well and high up in a tree
out of reach of thieving dogs or coyotes.
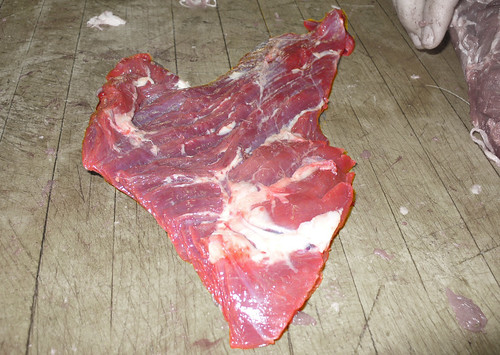
That said, this time we also removed some meat from around the neck for grind. Bucks apparently have more of it than does.
Here Jacob is showing where it came from.
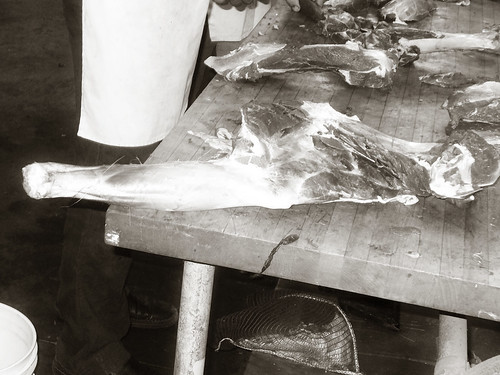
At this point, it’s time to break down the
quarters into usable pieces of meat. We usually start with the front
legs. Here is one.
And here’s the back leg.
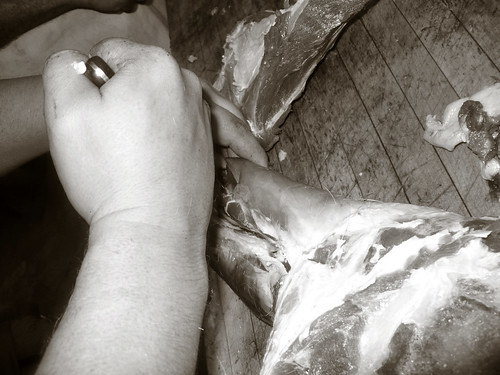
We usually start at the bottom of each leg.
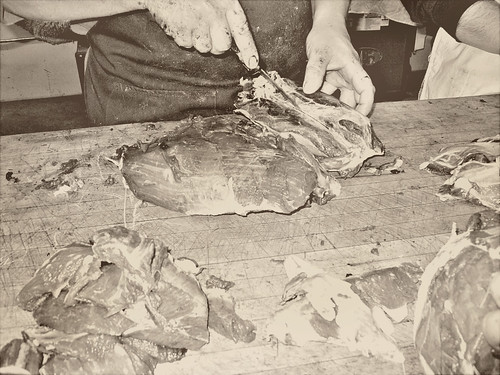
The goal here is to break this piece of animal into individual muscles,
and this is done by tracing the connective tissue “seams” between the
muscles with a knife.
See? The muscle is starting to peel off.
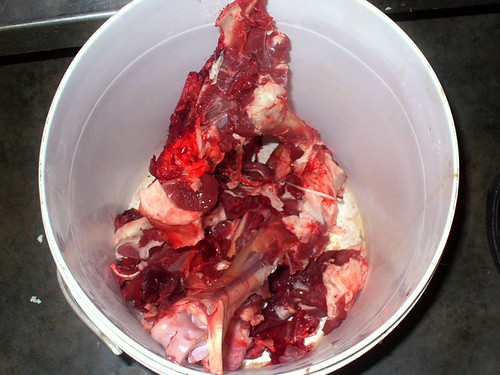
It’s handy to have a scrap bucket by you when you’re doing it. Some of this becomes dog food.
The skinniest, toughest muscles towards the
bottom of each leg are usually ground. As you can see, we don’t work
too hard removing the connective tissue from the meat that’s headed for
the grinder. The connective tissue is the white stuff, by the way.
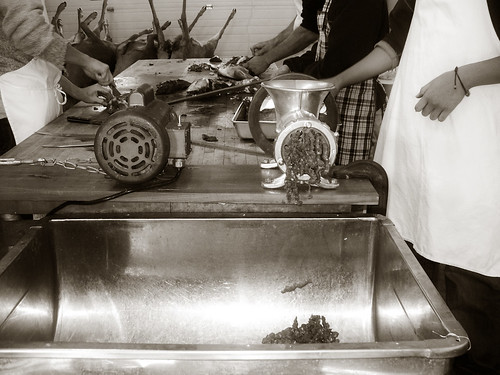
This powerful motorized grinder will grind
it all right up. The meat is usually ground twice, and then used either
in the homemade pork-and-venison sausage my in-laws make every year or
in a variety of dishes that normally call for ground beef, as long as
they include a lot of other ingredients, such as chili, tamale pie, Bolognese, pasties,
and so on. Now you CAN use ground venison in meat-only dishes (things
like hamburgers, meatballs, and the like), but because venison is so
lean, you need to mix it with at least a third of ground beef and then
enrich your hamburger mix with some milk or cream. I don’t like adding
eggs because I find that it makes hamburgers tougher.
Of course, you can always get a jerky gun
and make your own “deer sticks” (you will still need to mix your
venison with part beef), but that’s usually more work than I care for.
Some people choose to turn the entire front
quarters into hamburger, though I usually try to salvage larger pieces
for “stew” – a loose term used in our family for the pieces which can be
used in stroganoff, stir-fries, stews (the connective tissue melts beautifully when the meat is braised in liquid for a long time), jerky, and so on.
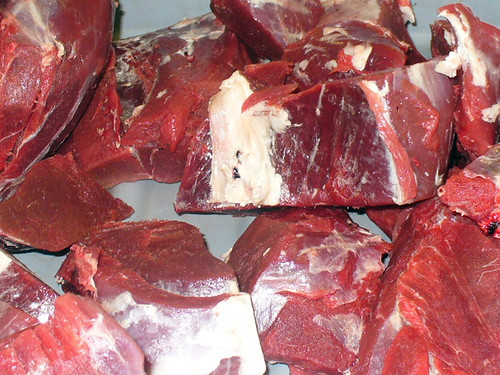
This is what I’m taking about. How much you
will trim these pieces before packaging will depend on how much overall
time you have, as well as on exactly how much of a control freak you are
you aspire to excellence in all things. As you may have noticed, I
prefer doing more things to doing things better, and it’s easier for me
to trim those just before cooking anyway.
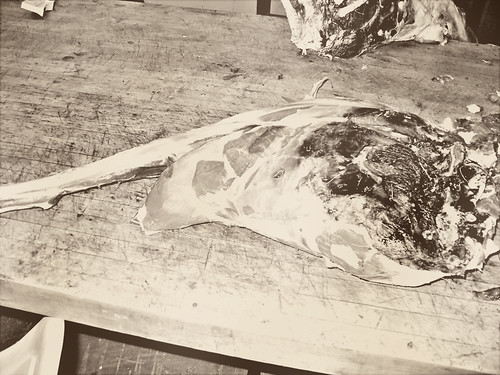
Here you can see Jacob is starting to break
down the larger hind leg. The same principle applies – examine the
quarter, locate the seams, and use them as guides for separating the
muscles.
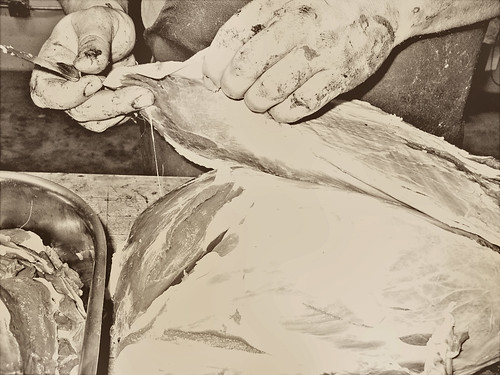
There will be three large single muscles/roasts in the hind leg. Those are the ones I like to leave whole to make into pastrami, my favorite deer product of all time.
Here is one.
Here is another. I like to package them individually.
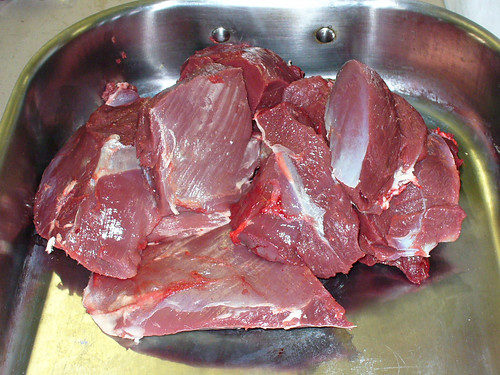
Everything in between becomes either
hamburger or “stew,” such as these pieces above, depending on how big a
chunk you have in front of you.
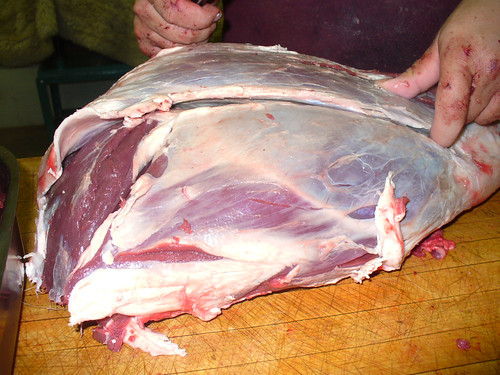
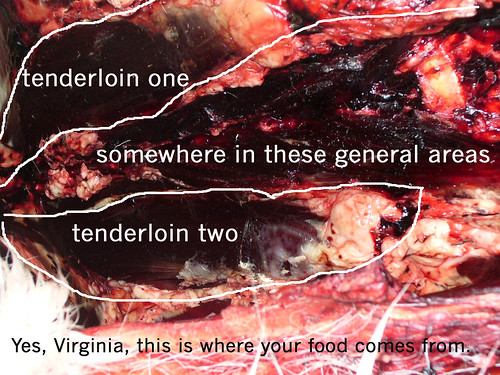
BUT DON’T THROW AWAY THAT CARCASS JUST YET!!! There’s more treasure to be found in its depths. Specifically, this:
Sorry, Virginia. I know this is no
shirtless Rob Pattinson in this picture… there’s just no way to present
this part of the buffalo in the way that is both glamorous and
discernible. It’s pretty much gotta be one or the other, and since this
is a tutorial of sorts, after all, I had to go with discernible. There’s
no way I could skip it altogether though – the most tender, delectable
meat comes from inside the cavity, where it is tucked neatly underneath
the spine.
Now the outward-facing sides of these
muscles have been exposed to air during the aging process, and will now
look dark and leathery. The dark and leathery stuff will need to come
off, which is what’s happening above. This is why some hunters prefer to
remove those at field-dressing time.
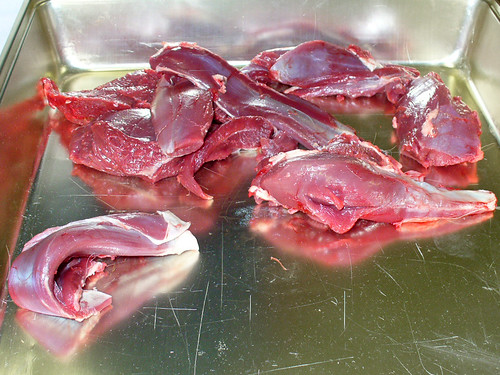
To remove these from the cavity, trace the
knife around and underneath the tenderloins (for these are the true
tenderloins here) and pull them out. I just throw those babies on the
grill – they don’t need any embellishment beyond maybe a pat of compound butter, but even this is more gourmet than most people who actually shot a deer this year would bother with.
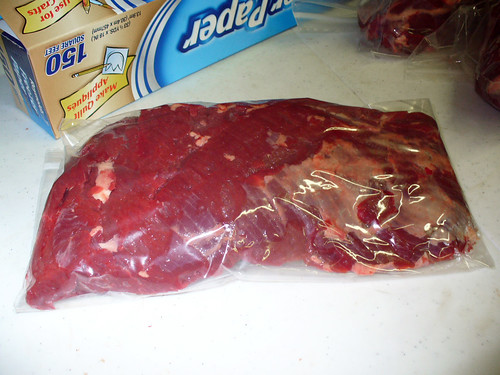
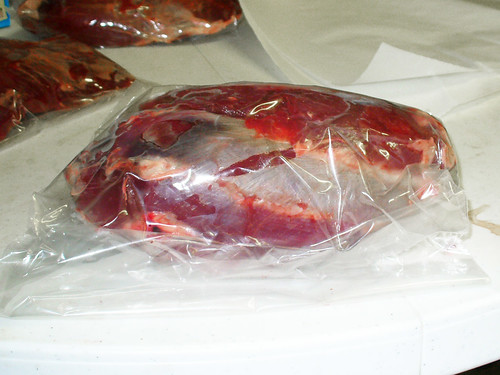
And finally, you package it. I like to
package stew and hamburger in 1 to 1.5-lb packages, and wrap each of the
loin sections individually. Pastrami muscles are wrapped individually
as well, although you usually wanna smoke two at a time. We either wrap
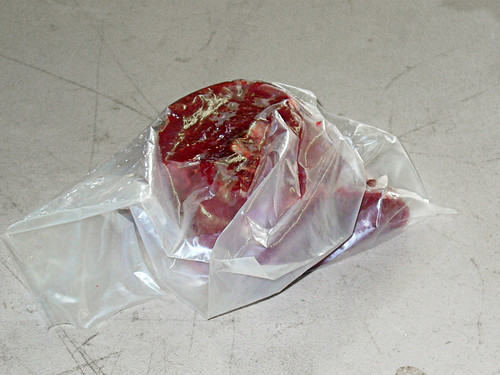
the meat in saran or put it in Ziploc bags…
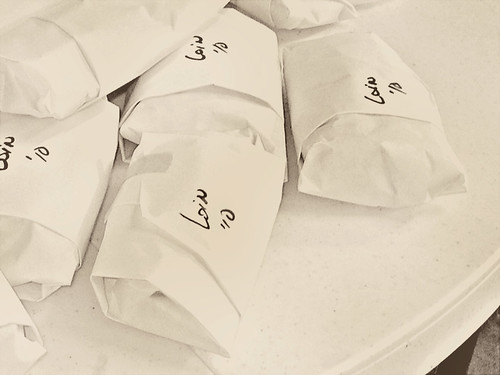
…And then wrap them in freezer paper. Don’t forget to label your packages! You want to make sure to put down the cut and the year, because, I promise you, three years from now you could be staring at that package and wondering how old it is.
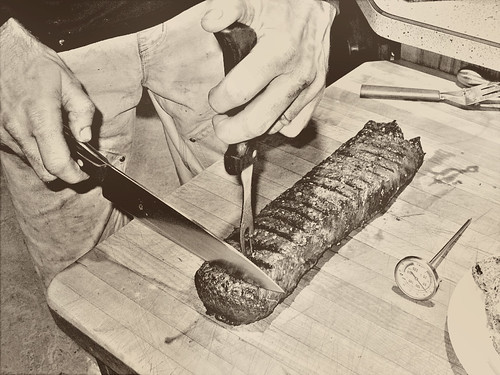
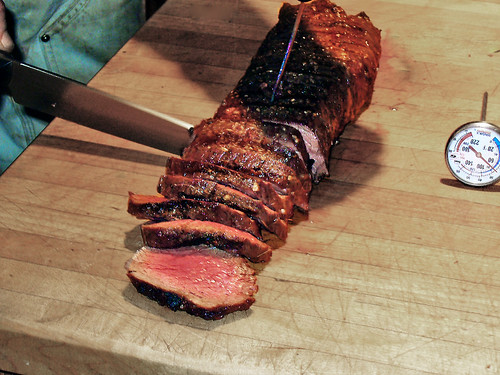
Finally, it doesn’t hurt to grill one of the loins right away, especially if you have a hungry deer-butchering crew to feed. That’s what the pioneers did in the above picture…
And that’s what we still do today. Wait,
the pioneers didn’t really have any meat thermometers in the Big Woods,
did they now? Nevermind.
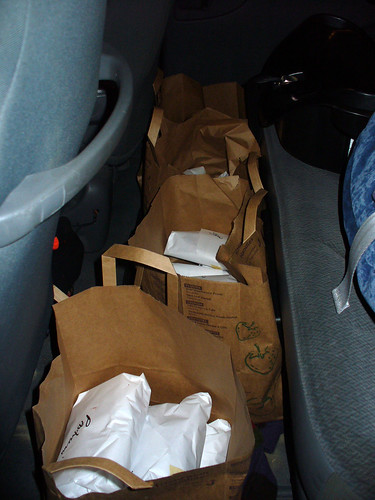
And here is some thirty pounds of venison going home with us.
The End!








No comments:
Post a Comment