DIY Raised Bed For Gardening
Guest article by GardenGalBevy
For this project, you will need two 8 foot 2×12 planks (cut in half),
4 corner brackets, screws, weed preventing landscape cloth, scrap cardboard, veggie scraps, green leaves, green grass clipping or other green matter, leaves, twigs, dried hay/grass or other brown material, organic soil.
NOTE:(we made our raised bed 3×6 to fit our space. you can make yours
whatever size you wish. 4×4 is easier to work without the need for
stepping in the soil. and we used brackets we had on hand. choose
whatever works best for you.)
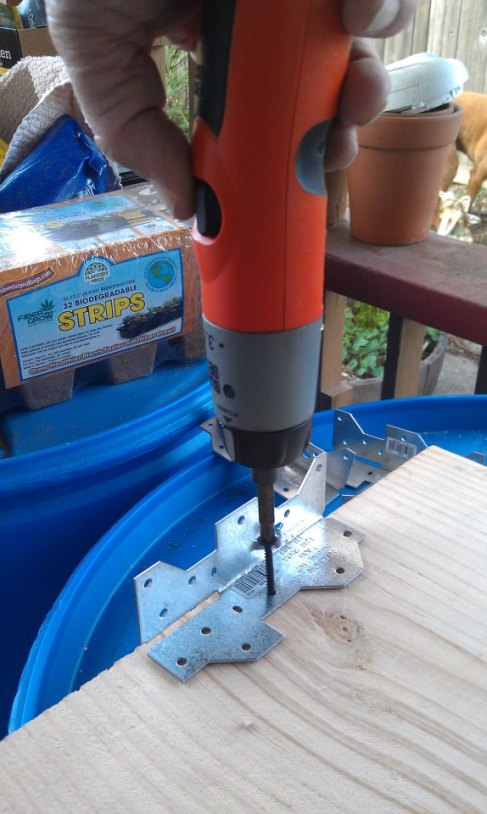
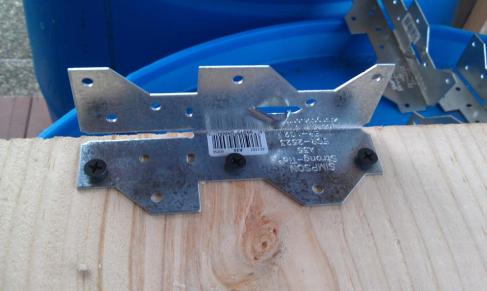
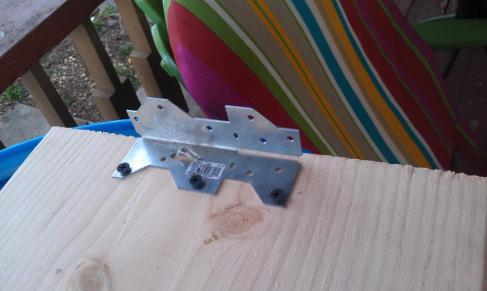
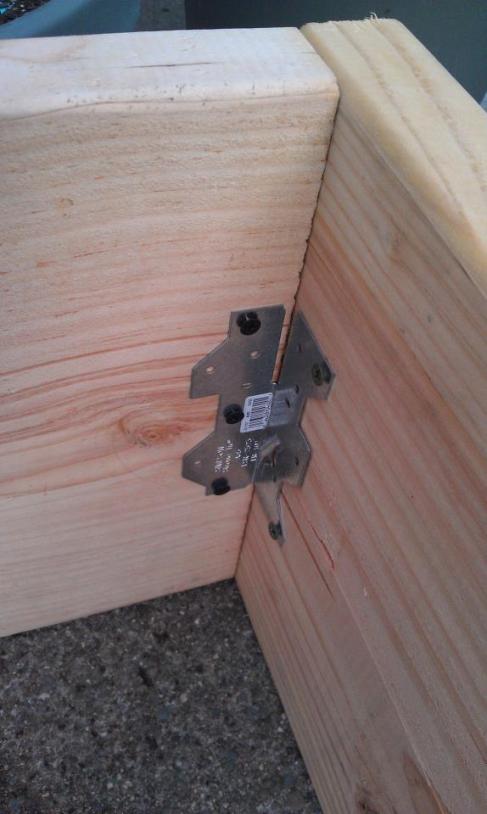
Using your electric screwdriver, mount the corner bracket in the center of your board. Make sure it is straight and flush.
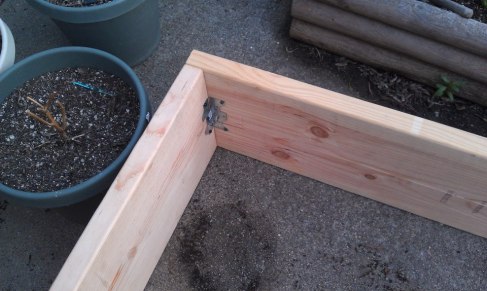
Attach the remaining board via the bracket, forming a corner.
It’s easier to do this if you have someone help you hold the board
against the bracket, while you use the electric screw driver to screw it
together.
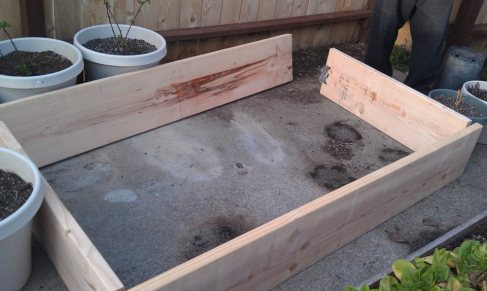
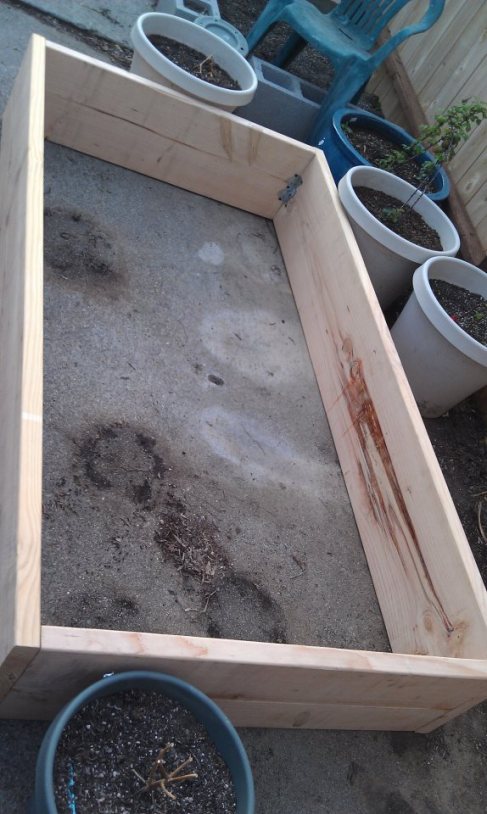
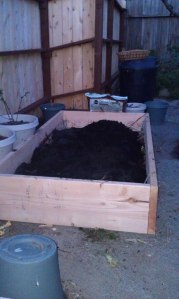
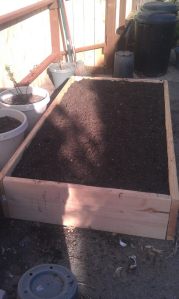
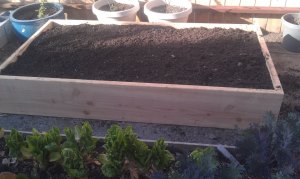
You now have your raised bed frame.
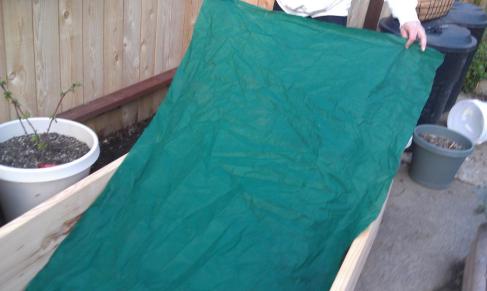
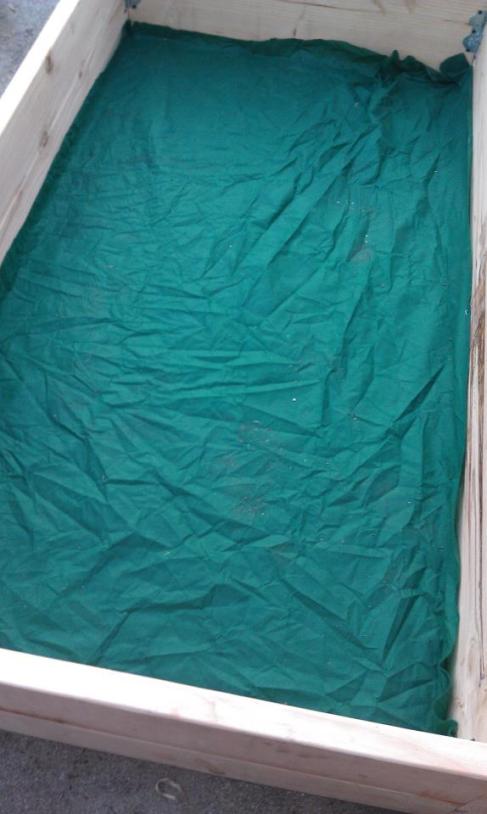
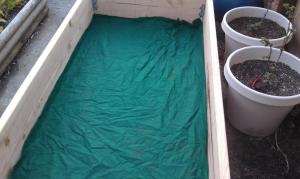
Cut weed preventing landscape cloth a few inches bigger than the
inside of the box/bed. You will need this extra cloth to staple to the
wood.
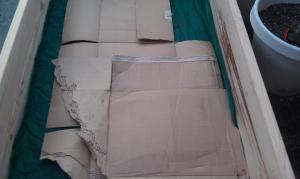
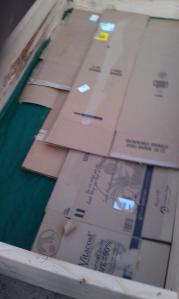
Next, add cardboard you have saved for this project. It’s biodegradable and will work as a moisture barrier.
Cardboard is considered “brown” material and works with your raised bed
to provide nutrients like dried leaves would. Don’t skip this step.
Keep filling your bed until the cardboard is as even as you can get
it. Make sure it’s flat as possible. You can add several layers.
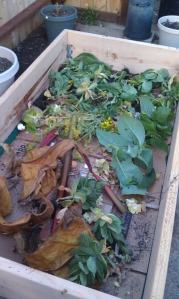
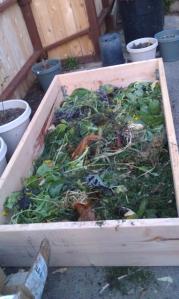
Add green material on top of the cardboard. Green material is
anything like veggie scraps, fruit peelings, green leaves, small amount
of grass clippings, eggshells, coffee grounds.
We added banana leaves from a tree we pruned and other leaves and small twigs from pruning trees and shrubs. Don’t use large twigs or sticks.
Cover the cardboard as well as possible with your green matter. You
are building a “compost” under your soil which will feed your plants for
months and help maintain moisture in your soil.
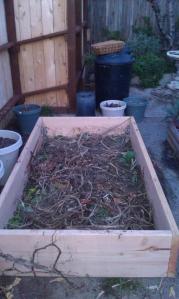
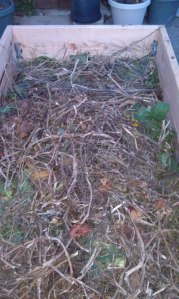
Next add brown material: dried leaves, some dried grass, dried tomato
vines, dried corn husks, small twigs. (if you don’t have dried leaves,
you can use strips of newspaper or other scrap paper)
Break up any twigs or vines into small pieces. We walk on ours to crunch it up and press it down before we add the soil.
Add organic soil on top of your other layers and smooth it as evenly
as possible. You will have to add more soil, in time, as the levels
compress and compost.
Now your raised bed is ready for planting! If you’d like to make the
most of your space, make a grid from twine, mapping off 16 squares,
each one being 1 square foot. Plant your veggies in each square. You
can read about square foot gardening online or look for future posts
about it, here.


Love the idea of "building" compost under the plants!
ReplyDeleteMe to!!
DeleteLove the composting added at the bottom. I added some rotting cord wood to the bottom of mine. Releases lots of good stuff as it breaks down and it's cheaper than topsoil.
ReplyDeleteGreat design!
TRP
Whats rotting cord wood?
DeleteJG